sexta-feira, 19 de outubro de 2012
quarta-feira, 10 de outubro de 2012
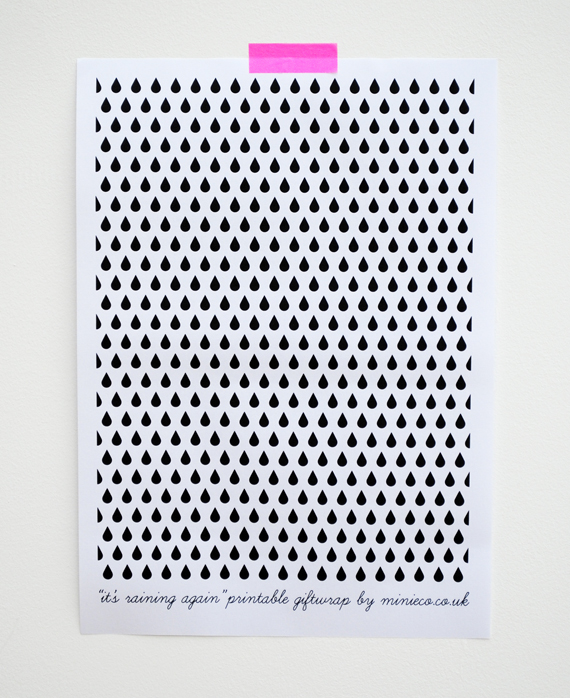
http://www.minieco.co.uk/images/oct12/wrap-raindrop.pdf
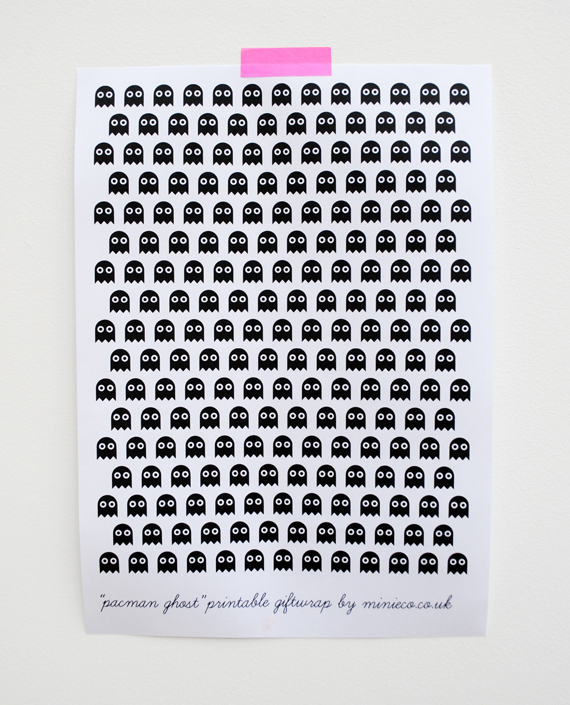
http://www.minieco.co.uk/images/oct12/wrap-pacman.pdf
http://www.minieco.co.uk/images/oct12/wrap-lightning.pdf
Printable wrap {halloween edition!}
BY KATE ON OCTOBER 10, 2012
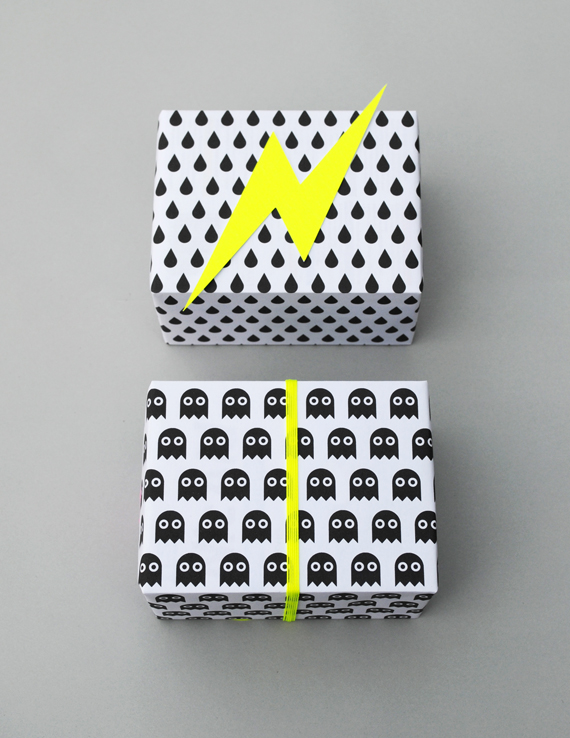
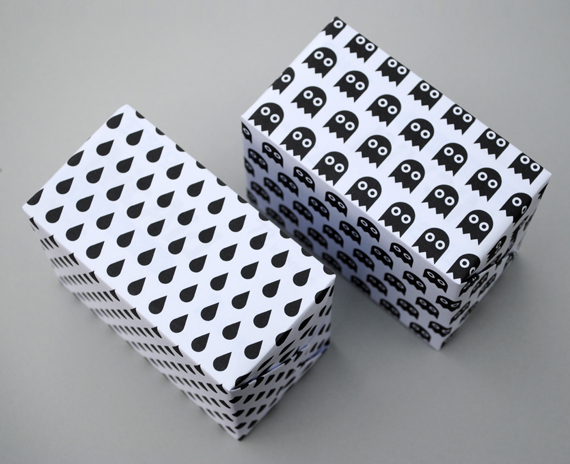
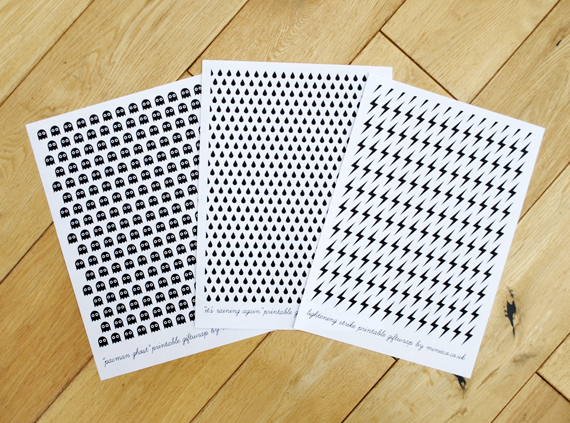
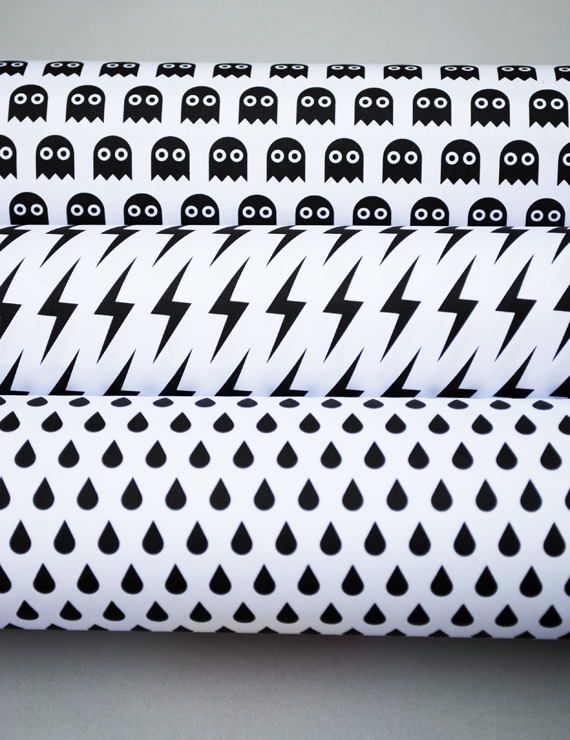
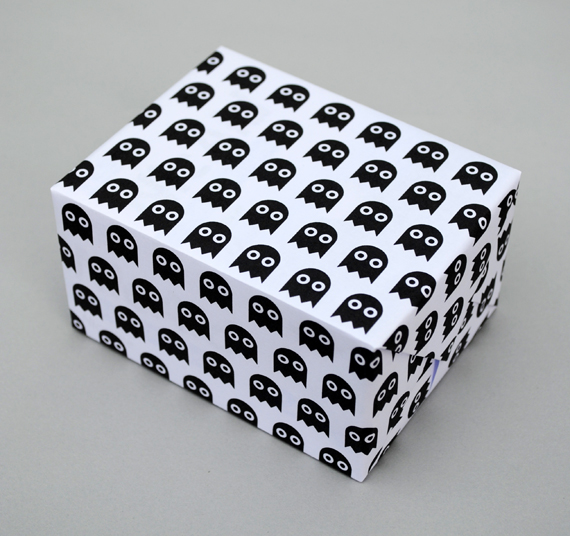
Do you give people presents at Halloween? If so, here is some printable wrap you might like to use. The templates are A4 so only suitable for small presents. (As you can see I hijacked pacman again ^_^)
We have had a terrible year in the UK for rain…it has been coming down by the bucket-load for months on end…hence the raindrop sheet!
The templates are at the end of the post. Have a great week ^_^
////////////////////////////////////////////////////////////////////////////////////
////////////////////////////////////////////////////////////////////////////////////
////////////////////////////////////////////////////////////////////////////////////
////////////////////////////////////////////////////////////////////////////////////
TEMPLATES
terça-feira, 9 de outubro de 2012
http://pysselbolaget.se/page/2/
Freja har fått lära sig att vika pappaskar i skolan. Askarna blir så söta och är roliga att ge bort. Idag visar vi hur man på ett enkelt sätt kan göra mönster på pappret och hur man viker askarna.
Ni behöver papper, vattenfärg och gamla tandborstar.
1. Ta ordentligt med färg och vatten på tandborsten. Sätt sedan fingret på borsten och sprätt ut färgen!
När pappret torkat är det dags för vikning. Askarna viker du först så här…
… och sen så här.
Ena halvan av asken färdig. Lock och botten viks på samma sätt och när man väl är igång är det svårt att sluta.
En av askarna har även fått en knopp. Knoppen är en pärla som vi knytit fast på locket. En förstärkning på insidan ser till att knuten inte åker igenom.
Freja has learned how to fold paper boxes in school. The boxes are really cute and fun to give away. Today we’ll show you an easy way to make patterns on the paper, and how to fold a paper box.
You need paper, watercolor and old toothbrushes.
1. Rub plenty of color and water on the toothbrush. Then put your finger on the brush and splatter paint onto the paper!
Once the paper has dried, you fold it like on the pictures.
Lid and bottom are folded the same way and once you get the hang of it it’s difficult to stop.
One of the boxes has also received a knob. The knob is a pearl tied with a thread through the lid. A reinforcement on the inside prevents the knot from going through the paper lid.
Tagged with: papper
agged with: bokrecentioner
Samlar ni också på fina kartongbitar och färgglada magasin? Då har vi något gemensamt. Visst blir man sugen på att göra något fint av dem. Ur den underbara pysselboken ”Pyssel de luxe” kommer dessa söta tändstickslistor.
1. Börja med att klippa till omslaget till den tändstickslistan. Klipp kartongen i 14 x 5,5 cm stora bitar. 2. Vik kartongen först 2 cm in från botten och sen 8,5 cm från botten. Drar man med ett gem över viket blir det lättare att få det rakt.
3. Nu är det dags att klippa till de vanliga vita sidorna till listan. Klipp till bitar som är 5 x 5,5 cm stora och lägg ihop dem till en hög. Lägg högen i det första viken på kartongen och häfta rakt igenom.
Ett gäng tändstickslistor klara för användning. Man kan inte få för många, eller hur!
Do you find youself collecting scraps of cardboard and colorful magazine? Then we have something in common. Feel the need to make something out of them? In the wonderful craft book ”Pyssel de luxe”, we found these sweet matchbook note books.
You need cardboard or glossy magazine scraps, regular white paper, a pair of scissors and a stapler.
1. Start by cutting the cover to your notebook. Cut the scraps into 14 x 5.5 cm pieces. 2. Fold the piece first 2 cm from the bottom, and then 8.5 cm from the bottom. Pull the edge of a paper clip over the fold and it will be easier to get the crease straight.
3. Now cut to the regular white paper into 5 x 5.5 cm pieces and stack them together in a pile. Place the pile in the first fold of the cover and use you stapler to bind them together.
A bunch of matchbook notebooks ready to use. You can not have too many, right?
Posted: 09 Oct 2012 07:34 AM PDT
Today I want to share a tutorial for a Mini Craft Foam Accordion Book that makes a great craft for a group, or, made up ahead of time, they are perfect for small gifts, party favors and stocking stuffers. They can be customized to any theme and can be used as books, journals, or mini photo albums. The mini books are made using materials from the Spangles Foamies Party Platter, part of the Creatology line by Darice at Michael's. On the platter there are a variety of pre-cut foam shapes that are plain or glittered and in the center you'll find mini pom poms, sticky back gems, and sequins. There are also foam stickers in assorted colors that make decorating really easy. For older kids, just set out the Foamies Party Platter, glue, scissors and paper and they will be able to do everything themselves. For younger kids you may want to make the books up ahead of time and then let them have fun decorating the covers. Craft Foam Accordion Books Materials: Spangles Foamies Party Platter copy paper or cardstock glue stick white glue or glue dots scissors ruler pencil
Directions:
1. My books have six panels but you can do more or less, whatever suits you. I had to cut two different strips, one that was 2" x 8" and one that was 2" x 6". Then glue stick them together, overlapping one panel, to get one six panel strip. Fold the strip accordion (concertina) style every two inches. To make it easier, I created a simple graph in a word processing program :) 2. Put glue or glue dots onto the front panel of your accordion strip, center over the front cover and press down. 3. Put glue or glue dots on the back panel of your accordion strip and glue down the back cover so that it lines up with the front cover; press with a heavy book until dry if using white glue. 4. Now decorate your cover however you like! Use the pre-cut shapes and adhesive back stickers or you can cut your own shapes - very easy with regular scissors. Glue dots work the best for this but you can use white glue too. All finished! Connect with Michaels and Darice via: |
http://artolazzi.blogspot.com.br/2011/04/3-d-lizard-directions.html
3-D Lizard Directions!
your done!
make head and legs
fold un cut pieces together and glue
fold in half cut up to folded line teacher made. very important to cut to the fold or lizard will not bend nicely!
add patterens!
Teacher comes around and folds in sides while students color
cut on line while paper is folded, large triangle is body, small ones are saved for heads and legs next art class
Fold paper, draw a slanted line from one corner to the next
Posted by Jenny Bartolazzi at 8:18 AM
Assinar:
Postagens (Atom)